Originally posted on FineDiners.ca by Eric Rochon
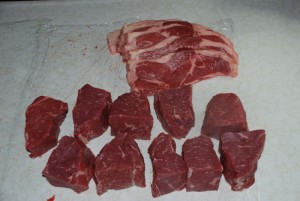
Busy night in the Kitchen – I was supposed to make Veal Stock. When I was working for Biagio’s they used to dispose of the VEAL bones, so I took some home one night and froze them. The freezer was full so I decided to make Veal stock – to my surprise, one of the two bags I pulled from the freezer was full of Chicken carcasses. So I ended up making chicken stock – I guess I’ll post about the Veal stock another time.
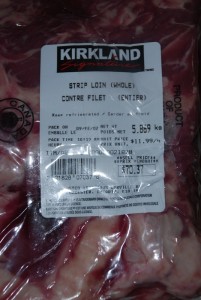
Anyways, onto the butchery. I love Costco’s meats. Today during my shopping I purchased a Strip Loin. The Costco meat section offers Canada AAA grade beef. When purchasing the strip, I always look for good marbling. It’s sometime hard to see through the Cryovac, but if you look closely at the ends you can see the content. The strip is one of my favorite parts of the “beef”. It’s fatty, flavourful and tender. I almost prefer this over the tenderloin. You can prepare it in several different fashions. In this article I cut NY style strip steaks and I also cut “Faux Fillets”.
So what you need.
1 – AAA grade strip loin
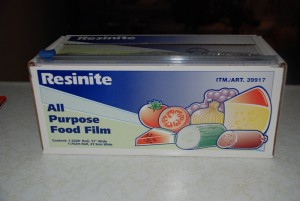
2 – Poly-wrap (I really like the costo brand Resinite)
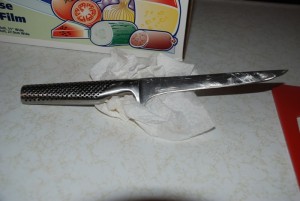
3 – Sharp Boning knife (I love my Global’s)
4 – cutting board (I use a red to identify raw meats)
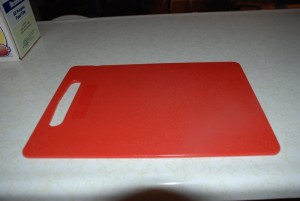
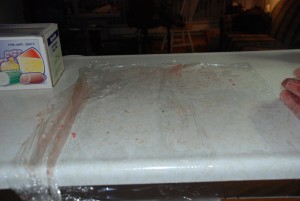
To start I lay a film of the resinte on my counter top. I usually spray or moisten the counter with water before applying the poly-wrap. This makes it adhere better. Doing this makes for easy clean up.
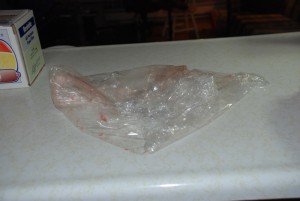
Next, open the cryovac – be careful as it contains lots of blood.
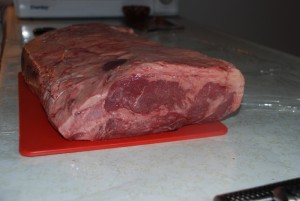
Lay the strip on the cutting board. At one end of the strip is a kinda bulgy part, we call this the tip. If you’re cutting all the strip into Faux Fillets keep the tip part for the well done people. I don’t understand these people. I usually cut the NY style steak from this end. So locate the tip, determine the desired width of your NY Steaks and cut vertically in the strip. You’ll achieve the NY style cut.
Here’s a picture.
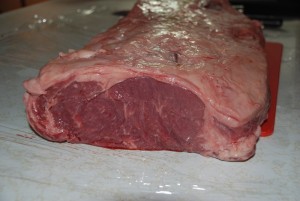
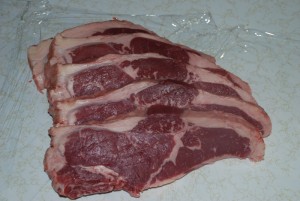
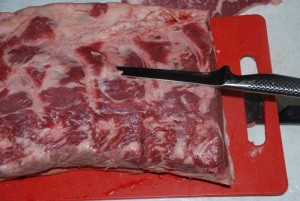
The Faux Fillets require more technique. Turn the strip onto it’s back (FAT CAP facing downwards) Remove all the connective tissue. This is where the Ribs connect to the Strip. If you don’t remove it your steak will be tough.
Here’s a picture.
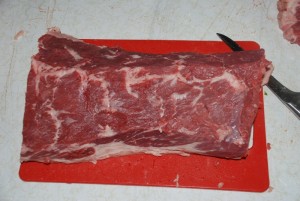
Then on both sides of the strip are the CHAINS. Run your finger horizontally approx 1″ from the side of the strip (this is an approx measurement and varies from strip to strip, a good way to find the Chain is to look at the ends – you’ll see the connective tissue). The meat naturally will detach. Run your boning knife along the opening you’ve made with your finger. Cut the CHAINS off. Don’t throw these away. I’ll show you why at the end of this article.
Here’s a picture.
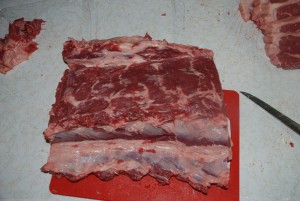
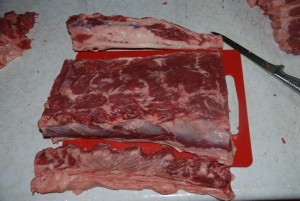
Once the Chains are removed, You’ll need to remove the silver skin from both sides. Place the strip fat cap side up. Take your knife and poke through the silver skin and move your knife along the length of the meat. You want to remove all the silver skin, again if left this will make for though steaks.
Here’s a picture:
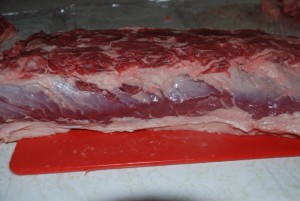
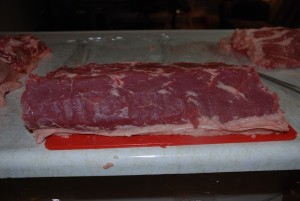
Once this is complete, I remove all the fat cap for the faux fillet cut. If you enjoy it, leave some. It’s quite savoury.
Here’s a picture:
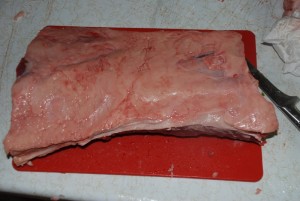
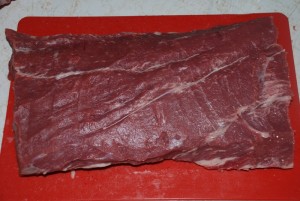
To remove the Fat cap: From the side of the strip poke your knife under the cap and run it from one end to the other. This takes practice in order not to be wasteful. Don’t worry you’ll probably need to do this a couple times to remove then entire cap. If you missed some and there’s connective tissue you can remove this once the cap is gone.
Now take the Cleaned Strip and “bust it into two sections” 🙂
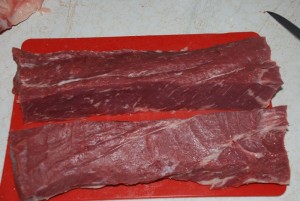
After you’ve got two pieces… you can start portioning. If you’re concerned about weight I would suggest you use a scale. A good portion can range from 6oz to 10 oz for the big meat eaters. My dad can easily eat a 12 oz cut of this steak.
Now you’ve got all these steaks and wondering, where’s the BBQ? 🙂

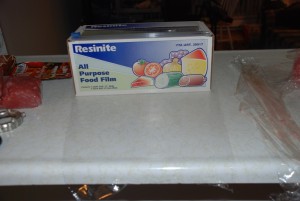
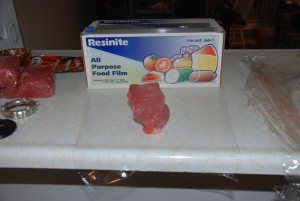
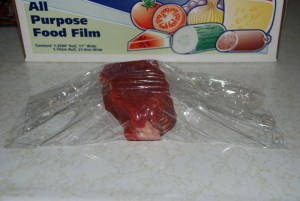
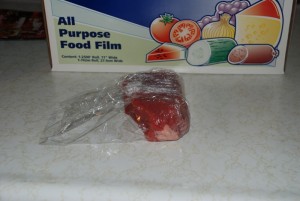
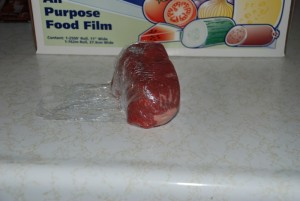
I usually freeze them. I use the same resinite to package the steaks. It’s important to use proper wrapping technique to preserve freshness, otherwise they’ll get freezer burned.
To wrap the steaks, pull out a generous amount of resinite. Stretch in onto the counter. Place the steaks lengthwise in the center of the wrap. Cut the wrap with enough length to over lap the other end. Take the one end of the wrap and pull it over the meat – if you have too much, you can always fold it. Take the other end and do the same. Once both ends are sealed, take one of the sides and fold it towards the center. Then take the meat and roll it over tightening onto the remaining side. This will create a tight seal. See picture for details.
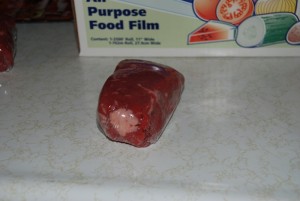
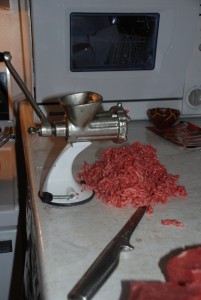
Now you’ve got all this waste – there’s a number of things you can do with it. One of my first times cleaning a strip I didn’t have access to a meat grinder. I marinated the Chains in Pineapple juice and steak spices and made beef fajitas. If you have or can borrow a meat grinder this “scrap” makes really good ground beef – you can control the amount of fat you grind. This ground beef makes for AWESOME BURGERS, and you can afford to cook them Medium Rare because “YOU” know the quality of this ground beef!
Happy butchery and BBQing!
Eric Rochon
Comments
2 responses to “Butchery 101 – Strip Loin”
I just want to thank you for this amazing lesson. I just purchased a Costco strip loin and was wondering about the best way to butcher it for steaks and filets. HOw perfect!
I’ve been pushing the resinite ever since I became a professional cook. You can’t go wrong with strip loin we used to coat it with graiy mustard, garlic, rosemary and fresh thyme. Put the fat back on and roast it.